Managing Installation Flows
Track the installation progress of your assets with dedicated installation workflows. Installers can update status, upload photos, and mark assets as complete from any device.
Before you start
- ✓A project with approved assets ready for installation
Step 1 of 5
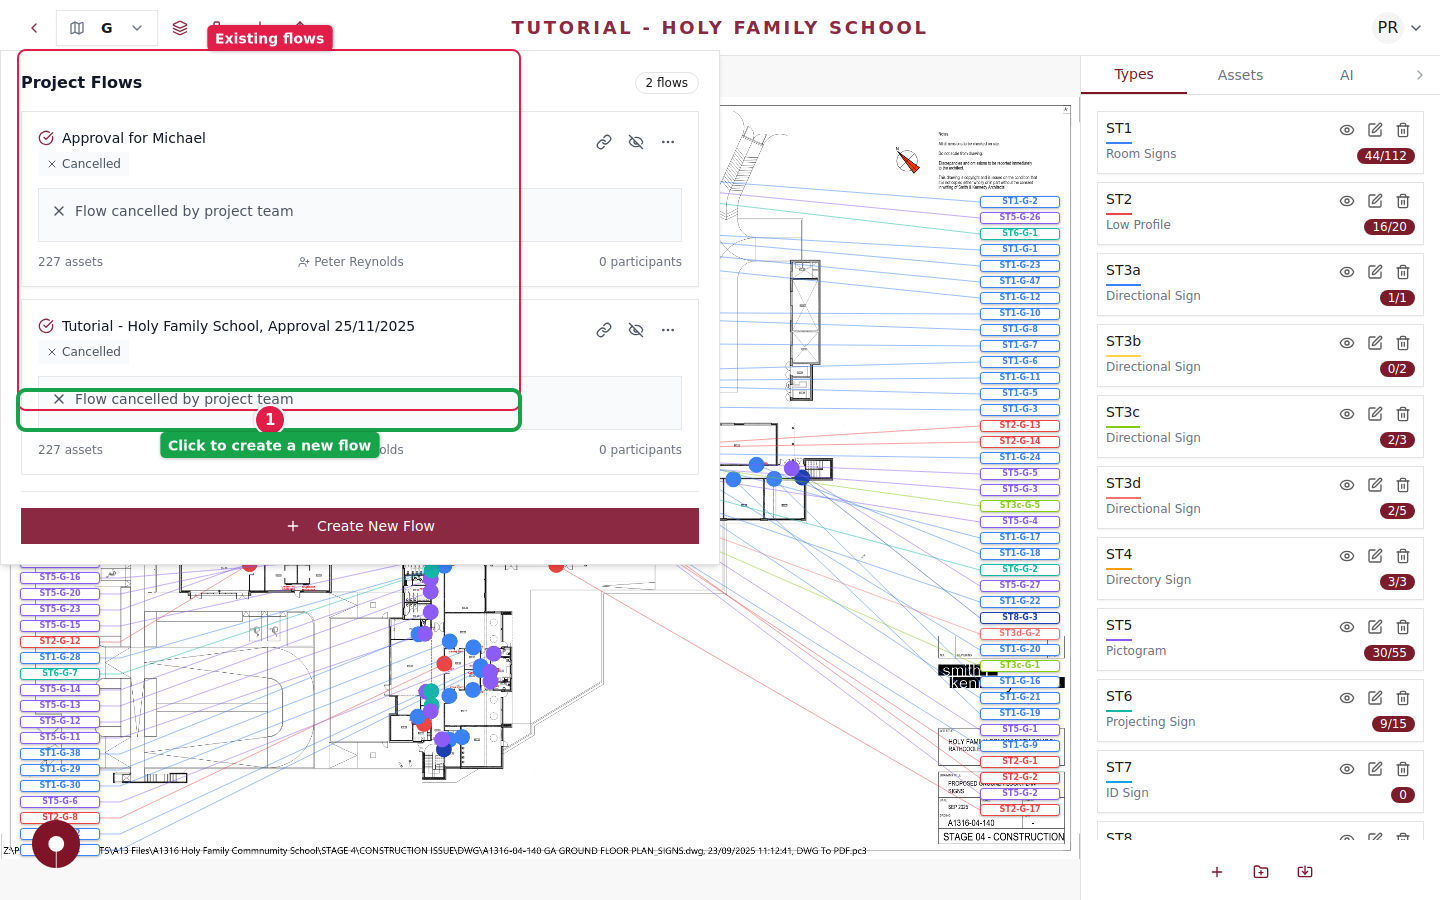
Open the Flows panel
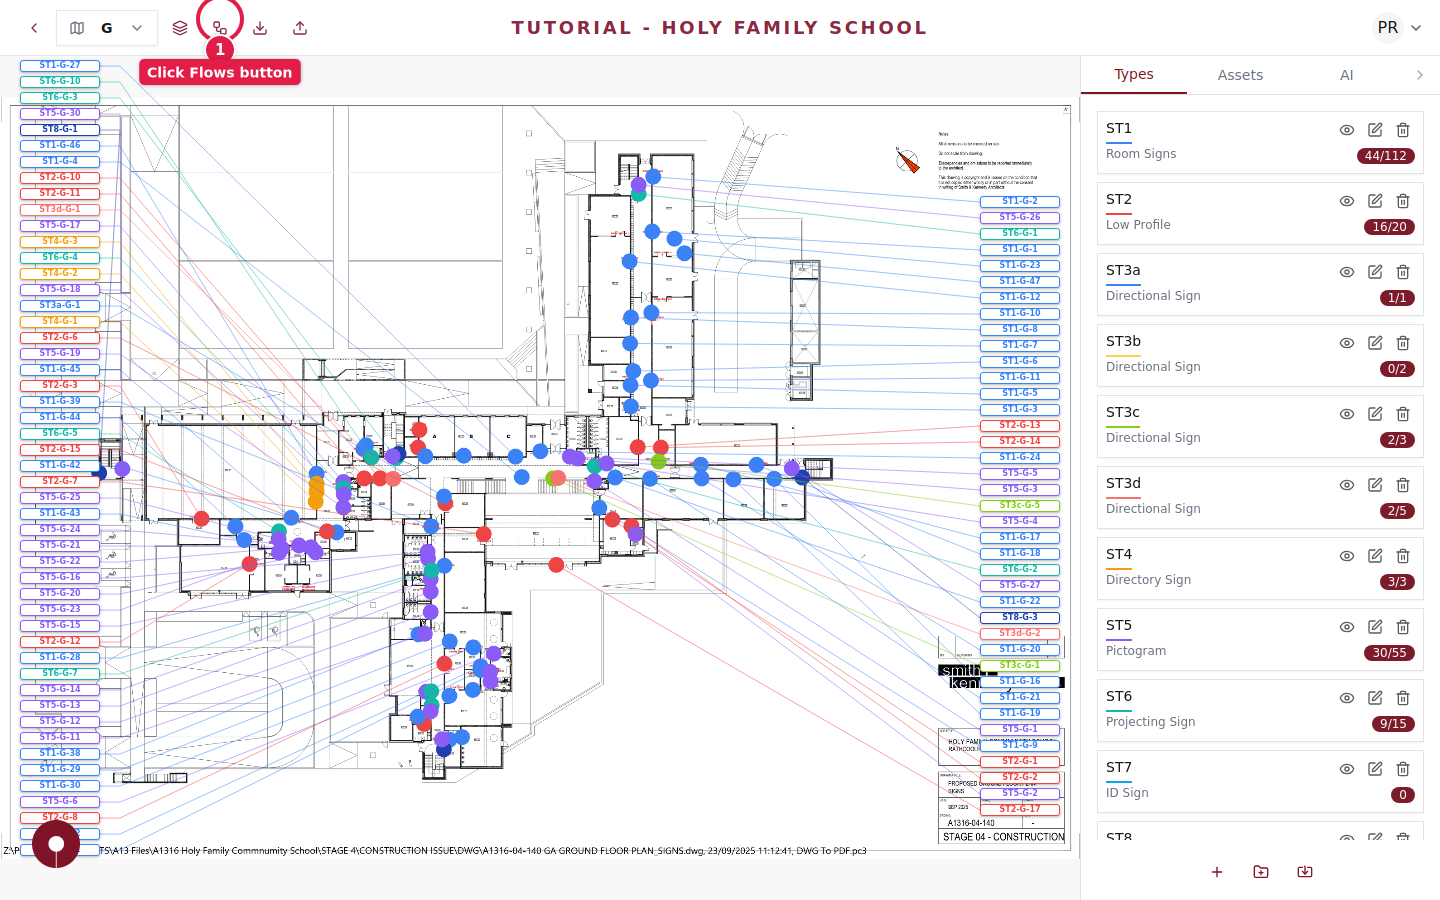
Navigate to your project floorplan and click the Approval & Installation Flows button in the top toolbar to open the Project Flows panel.
Step 2 of 5
Create an Installation flow
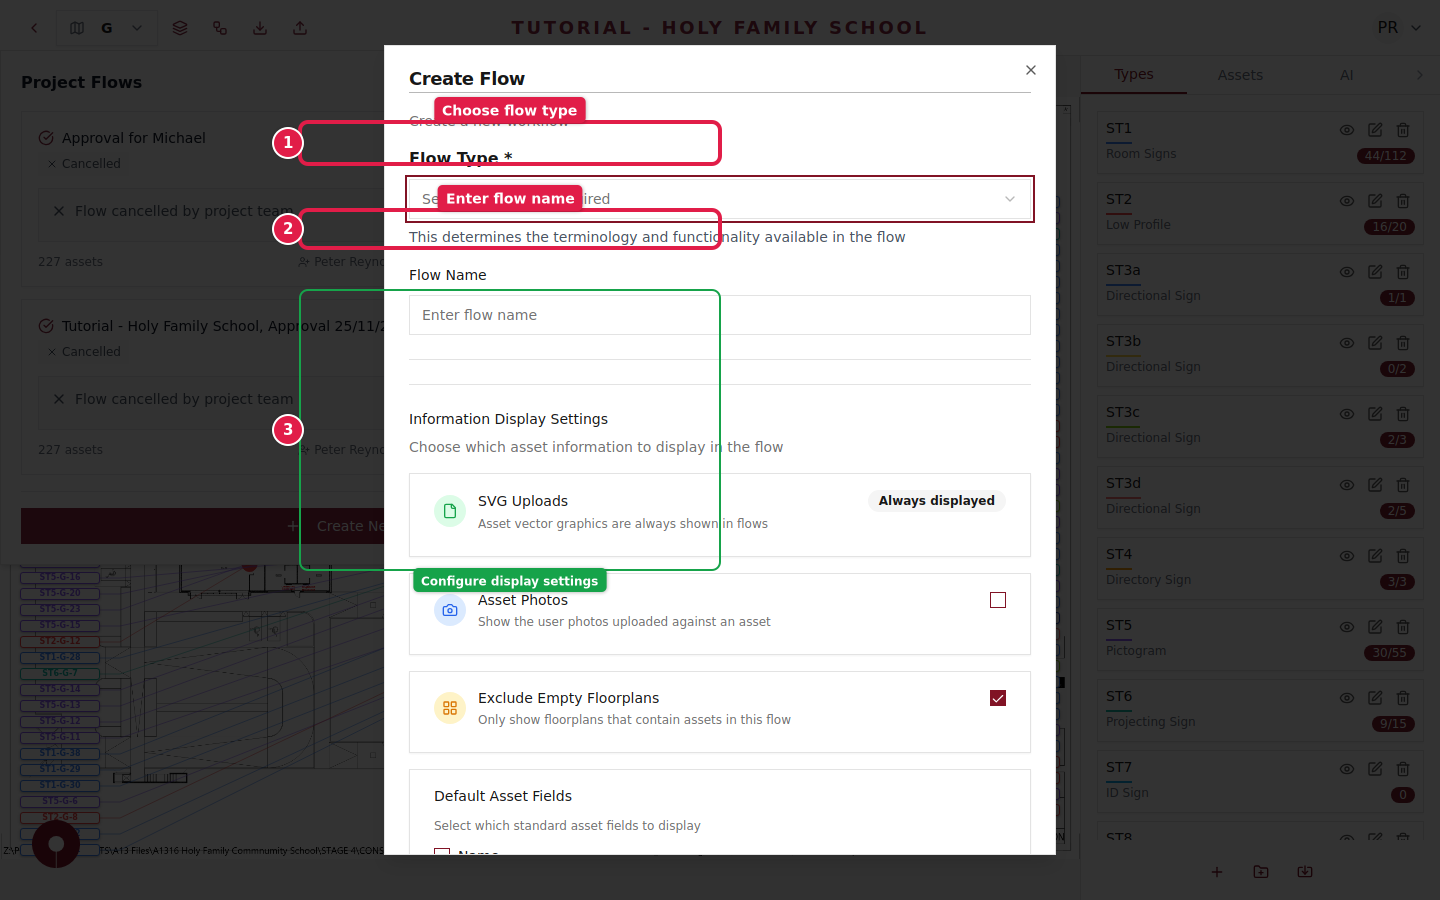
Click + Create New Flow and select Installation as the flow type. Give it a clear name like "Phase 1 Installation" so your team can easily identify it.
Step 3 of 5
Configure display settings
Choose what information installers will see:
- ✓SVG Uploads — Always shown so installers know what each asset should look like
- ✓Asset Photos — Enable this so installers can upload photos of completed installations
- ✓Exclude Empty Floorplans — Hide floors with no assets to keep the view clean
Enable the Asset Photos option so your team can document each installation with before/after photos.
Step 4 of 5
Share with your installation team
Once created, share the flow link with your installers. They can access it from any device — desktop, tablet, or phone — and navigate between floorplans to find each asset location.
Step 5 of 5
Track installation progress
As installers mark assets complete, the flow updates in real-time. You can monitor progress from the Project Flows panel, seeing how many assets have been installed versus how many remain.
Use the flow's participant count to see how many installers are actively working on the project.