Using the Visual Template Editor
Create and customize visual templates for your asset types using the built-in template editor. Design layouts with text, shapes, icons, and imported SVGs.
Before you start
- ✓A project with at least one asset type
Step 1 of 5
Navigate to Asset Types
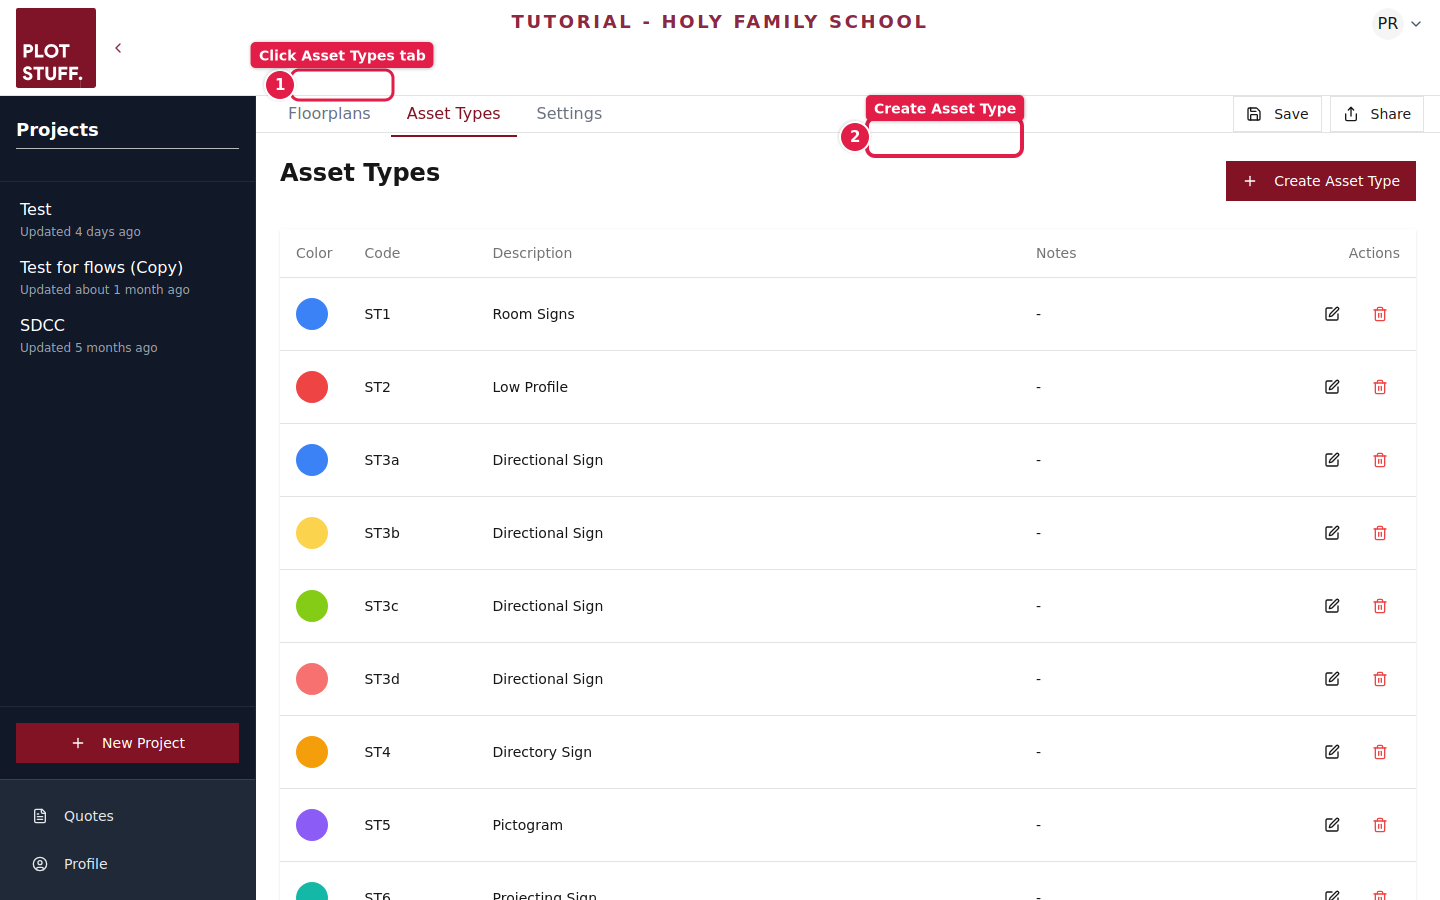
Open your project and go to the Asset Types tab. You'll see a list of all your defined asset types with their codes, descriptions, colors, and action buttons.
Step 2 of 5
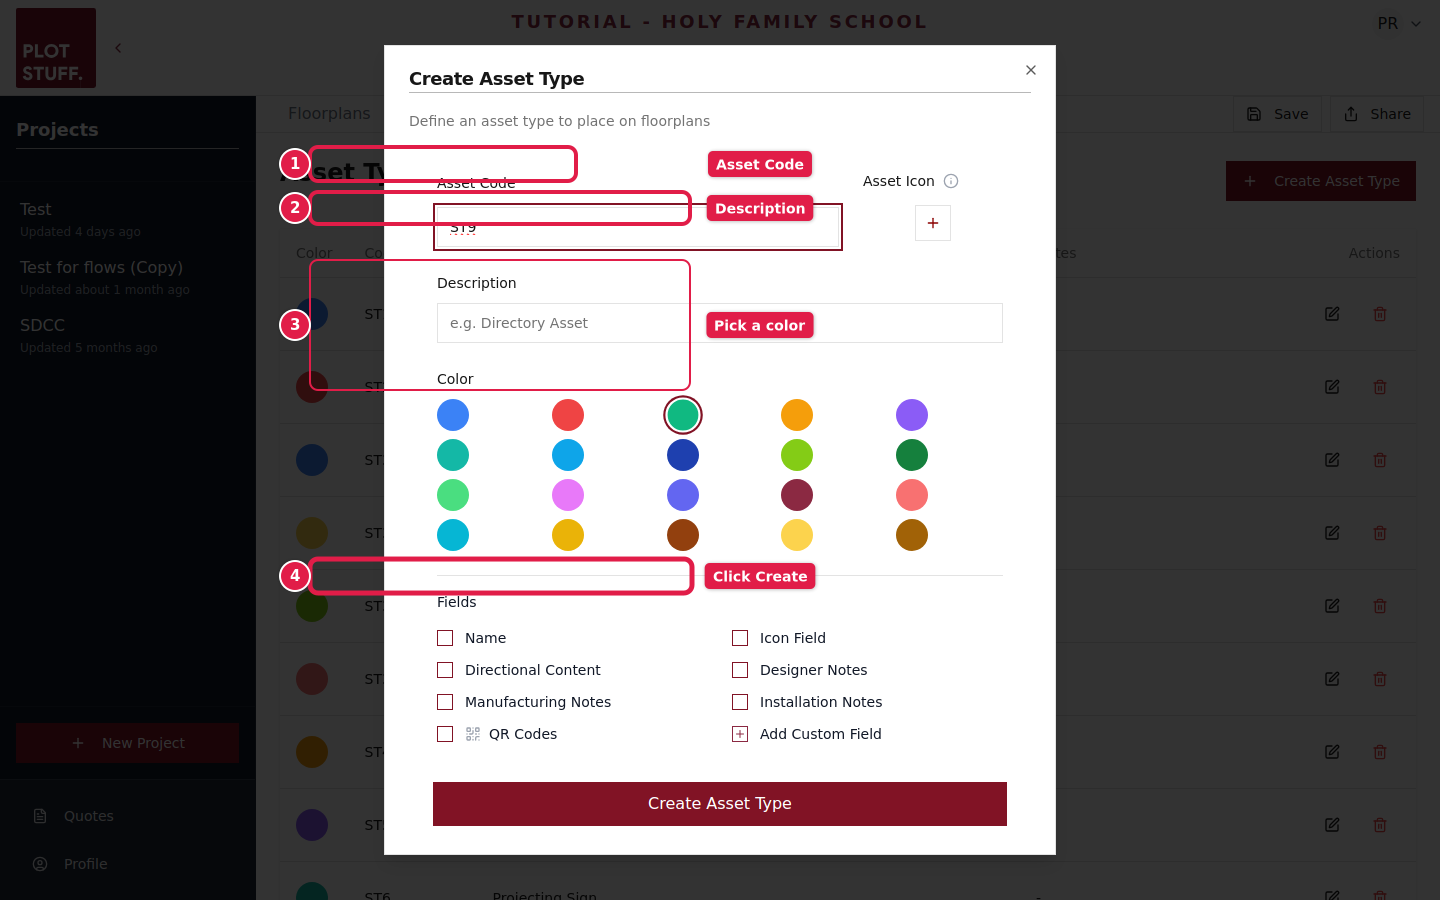
Open the template editor
Click the edit icon (pencil) on any asset type row to open its visual template editor. The editor provides a canvas where you can design the visual layout for that asset type.
Each asset type can have its own unique template design. Changes to a template automatically apply to all assets of that type.
Step 3 of 5
Design your template
The template editor provides several tools:
- ✓Text elements — Add dynamic text fields that pull from asset data (name, code, directional content)
- ✓Shapes — Add rectangles, circles, and lines for layout structure
- ✓Icons — Insert wayfinding icons from the built-in icon library
- ✓SVG imports — Import existing SVG artwork as a base layer
Step 4 of 5
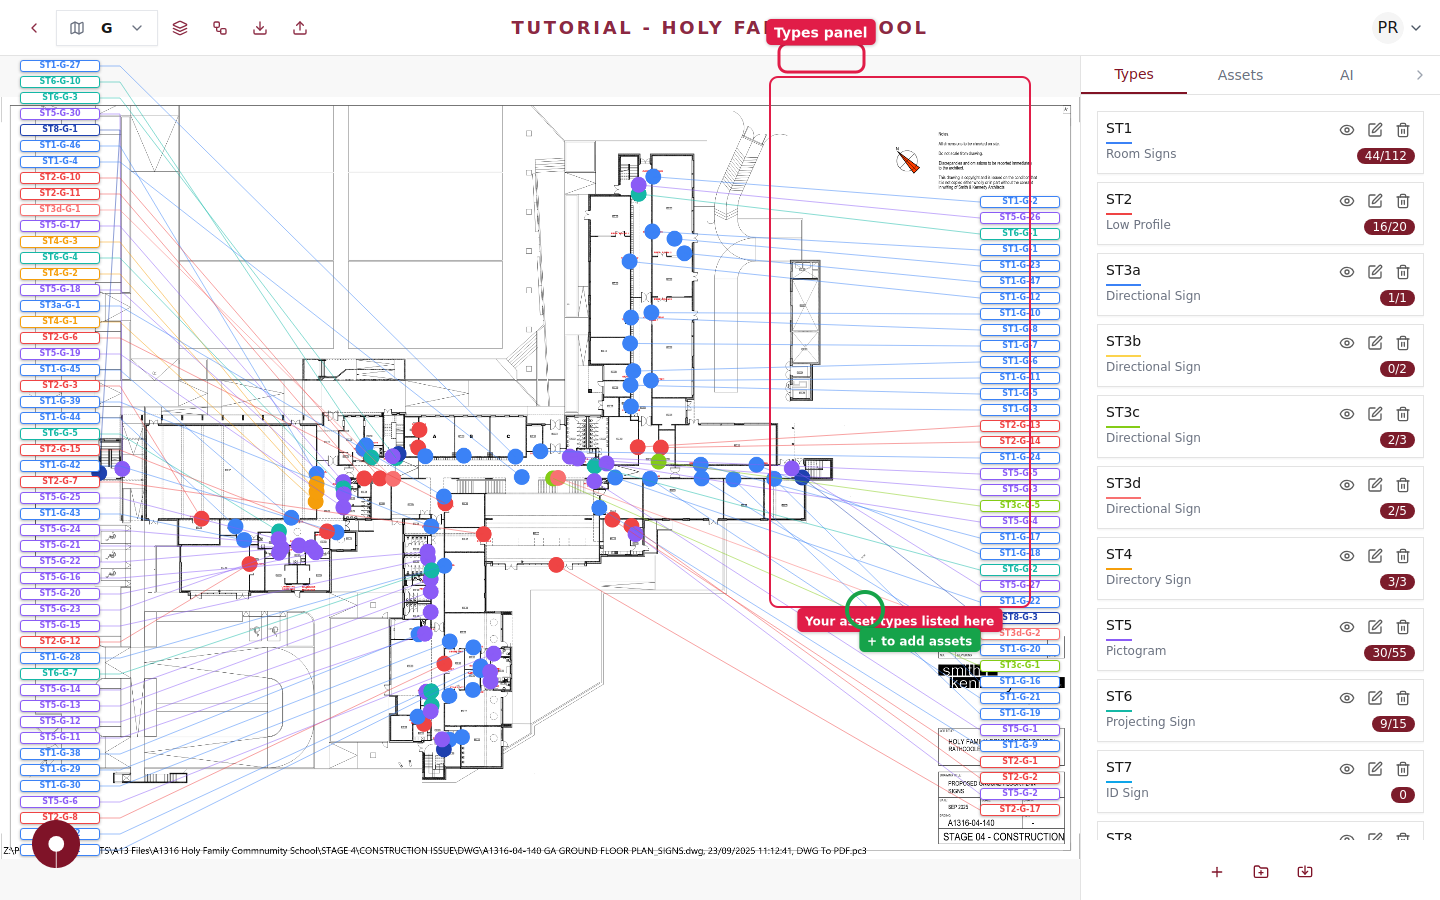
Configure dynamic fields
Connect template elements to asset data fields so each asset generates unique artwork. For example, a room sign template might pull the room name and number from the asset's Name and Code fields, while a directional sign pulls arrow directions from the Directional Content field.
Use the preview function to see how your template looks with real asset data before generating production files.
Step 5 of 5
Save and generate
Save your template and it will be used whenever you export production artwork. Each asset of this type will get its own customized SVG file based on the template, with its unique data filled in automatically.